Why We Make Specialty Duramax Tools
The Duramax and the diesel truck it powers are popular for a reason. They are well-built and designed to last although like any vehicle they require regular maintenance. While many owners opt to have their trucks serviced at the dealer or a local repair shop, some that prefer to work on their own vehicles.
At Merchant Automotive, we are enthusiasts and mechanics. Founded out of a passion for Duramax diesels and Allison transmissions, we understand the importance of keeping your truck on the road. At the same time, we know how difficult it can be to find the right tools for the job.
As mechanics ourselves, we have been in the same situation and know very well that creativity goes a long way in this profession. Over the years, we have created a few Duramax specialty tools for use in our own shop and have decided to make them available at a considerable discount when compared to the dealer and specialty tool outlets. Whether you are a professional mechanic or a home DIY type, these Duramax specialty tools will make your life a lot easier.
Water In Fuel Sensor Wrench
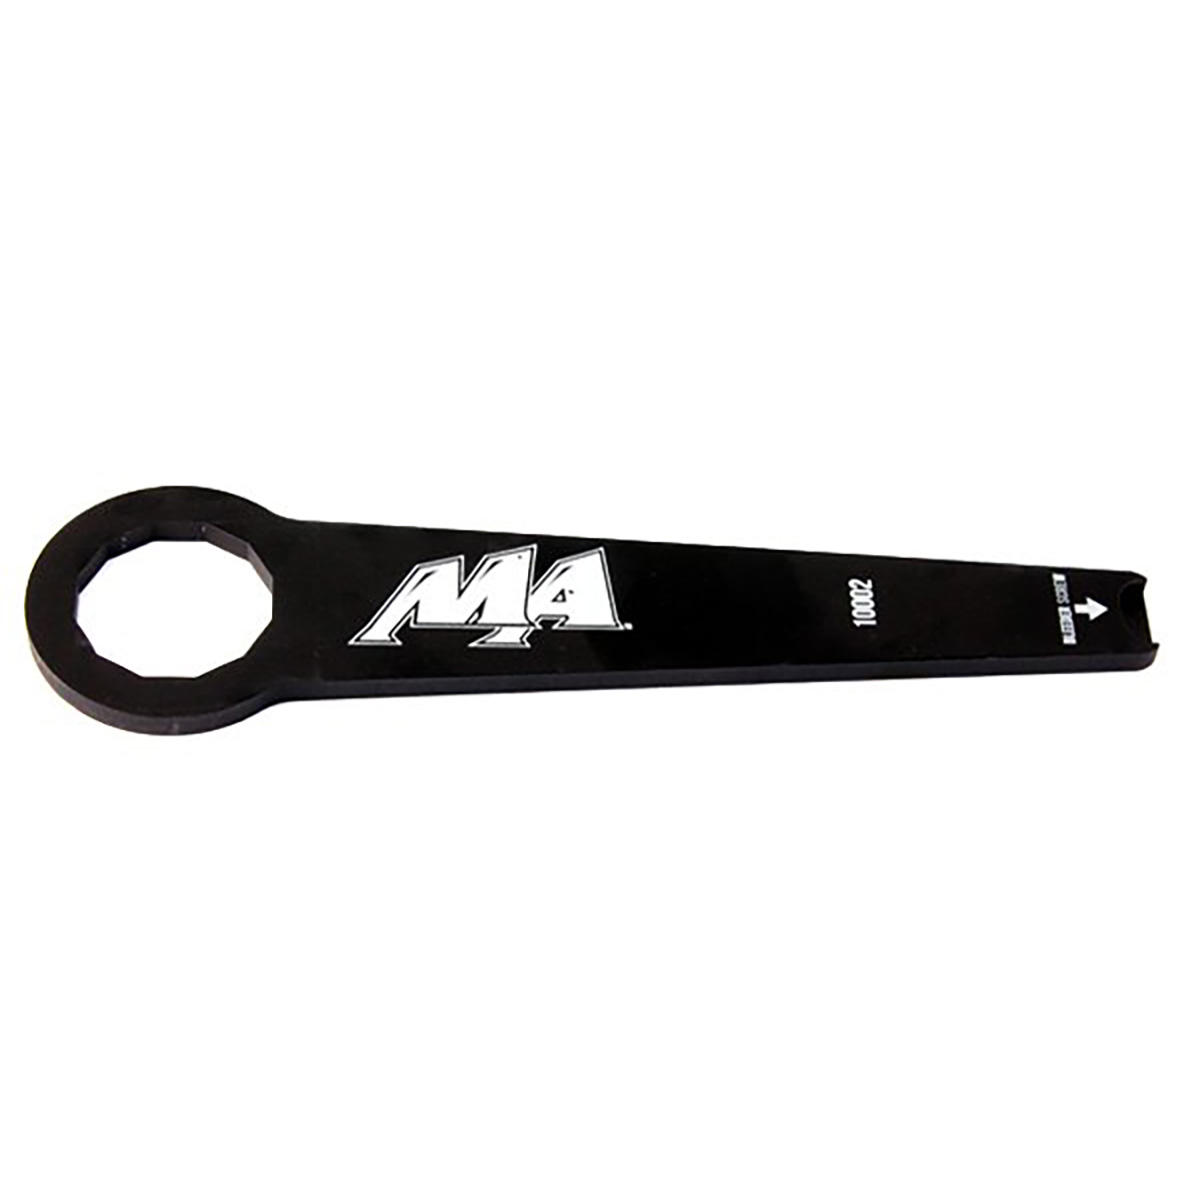
Why You Need It: When it comes to diesels, the importance of using quality fuel cannot be stressed enough as a tank of bad fuel can ruin your truck’s common rail pump and injectors. Suffice to say, a few thousand dollars in repairs.
With that said, we recommend replacing the fuel filter on your Duramax diesel every 15,000 miles. On the 2001-2016 6.6L Duramax, the water in fuel (WIF) sensor needs to be removed from the old filter and transferred to the new one.
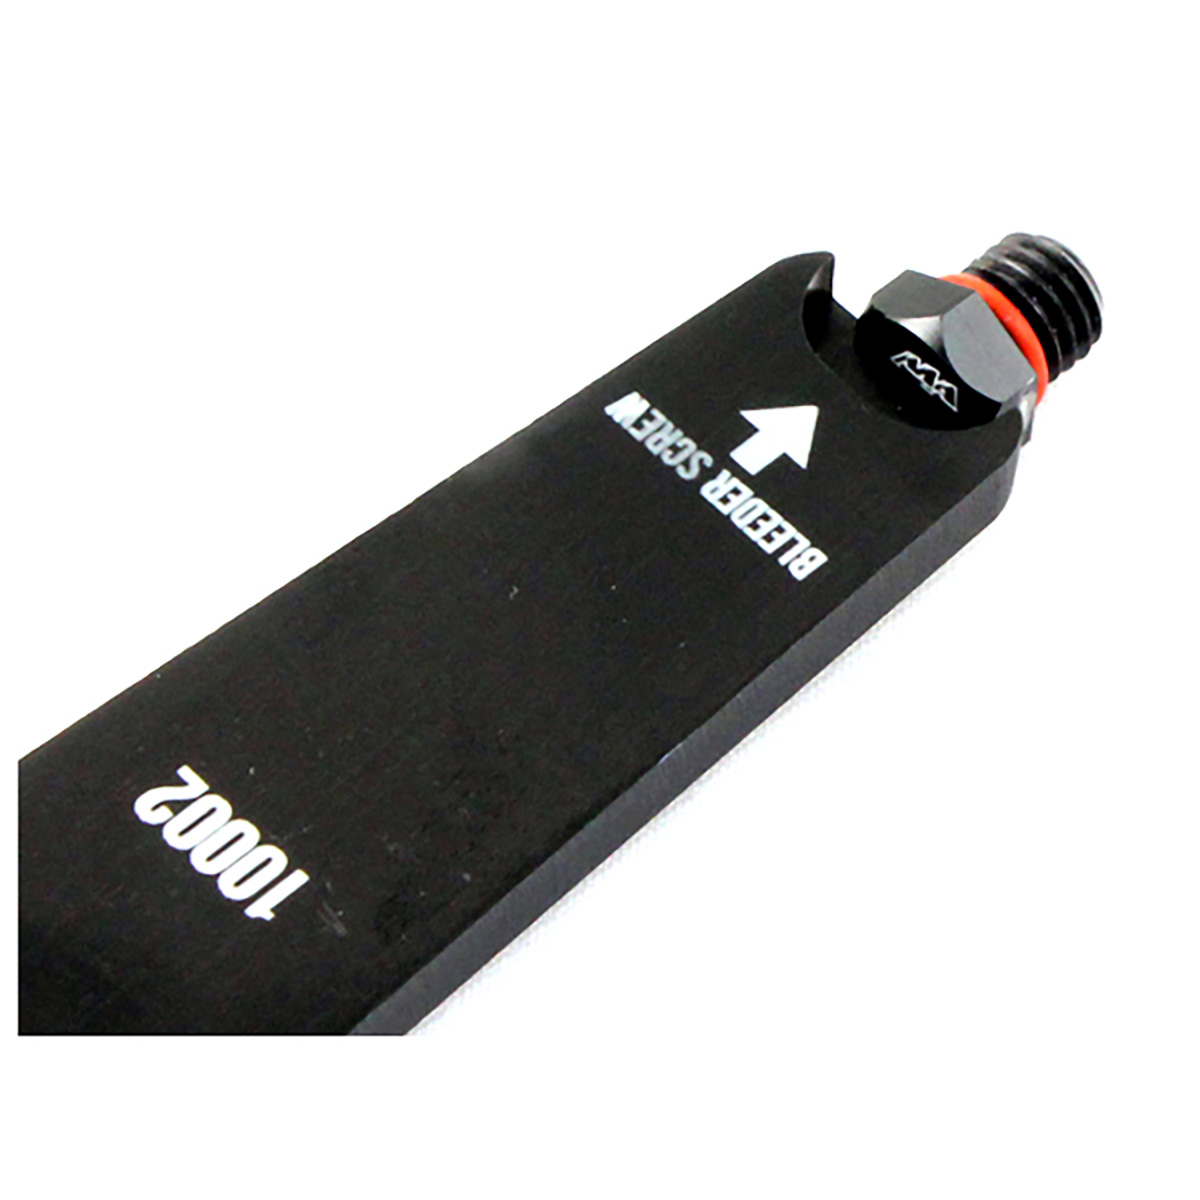
However, many home and general mechanics often use a pair of channel locks to remove the sensor but since it is made of plastic, this usually ends up damaging it. A similar situation occurs with the plastic bleeder screw that can easily be rounded out if it was overtightened.
How To Use It:
Step 1. Place the fuel filter in a suitable container and drain the fuel from it.
Step 2. Next, place the WIF wrench over the sensor and turn it counterclockwise. Unless it is overtightened or has not been changed recently it should loosen without too much effort.
Step 3 (reinstallation). Place a new O-ring on the WIF sensor and thread it a few turns into the fuel filter by hand. Then use the WIF tool to snug it down but do not over tighten it.
Step 4. Reinstall the fuel filter onto the filter housing and tighten it down. Then use the flat end of the WIF sensor tool to loosen the bleeder screw and press the plunger several times. Then loosen the bleeder screw to remove the air in the system. Note: This process may have to be repeated several times.
Step 5. Start the vehicle and make sure there are no leaks coming from the fuel filter, WIF sensor, and bleeder screw.
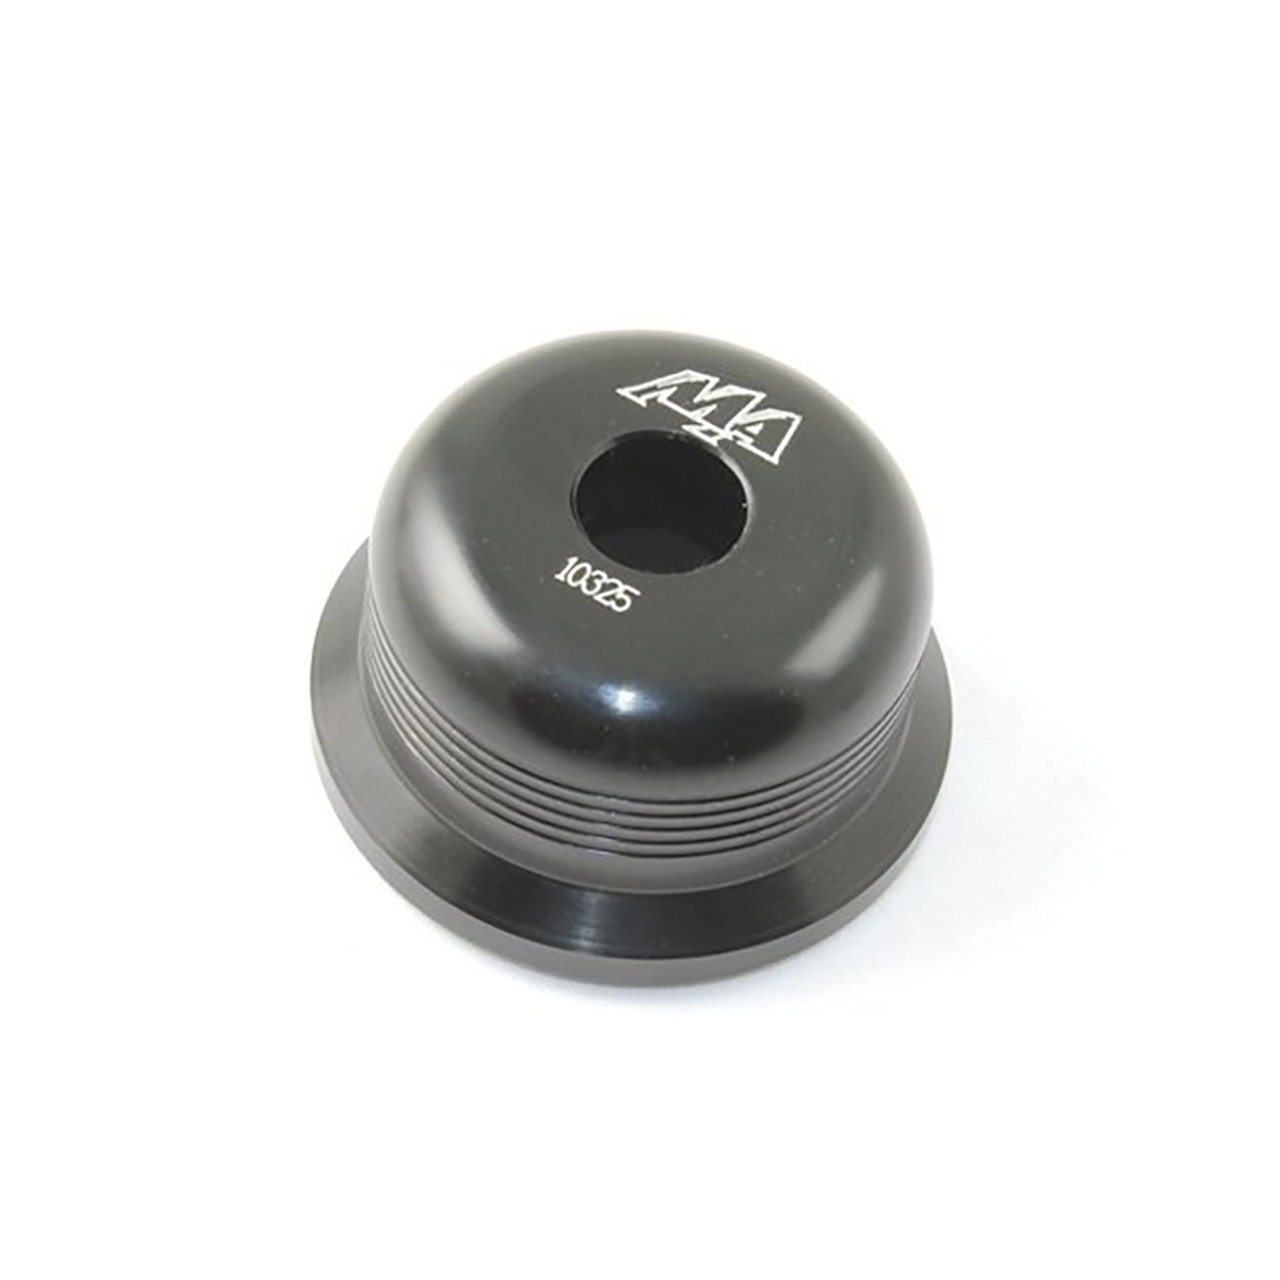
Seal Driver Tools
Why you need it: Installing seals on Duramax engines is critical for preventing leaks and avoiding damage. Misalignment during installation can lead to Duramax problems such as leaks, damaged seals, and even harm to the seal mounting location, resulting in costly repairs and downtime. Standard tools often leave too much room for error, making it difficult for DIY enthusiasts to achieve a perfect installation.
Our in-house designed specialty seal drivers, made by experts at Merchant Automotive, ensure perfect seal installations every time, especially for Duramax repairs. These Duramax tools prevent misalignment, eliminating the risks of leaks, seal damage, and harm to the mounting location. With precision engineering, our drivers guarantee secure and reliable installations, keeping your trucks on the road longer and avoiding common Duramax problems.
Don’t risk costly damage from misaligned seals on your Duramax. Equip yourself with our specialty seal drivers, expertly crafted and made in-house, for flawless installations every time. Protect your trucks and ensure long-lasting performance with our top-of-the-line Duramax tools. For more details, check out our seal drivers here.
Take the Next Step:
Get our specialty seal drivers from Merchant Automotive today and experience worry-free installations. Say goodbye to leaks, damaged seals, and costly repairs—because your Duramax deserves the very best.
Example of How To Use It:
Step 1. First, the driveshaft will need to be removed although it is not necessary to remove the transfer case from the vehicle.
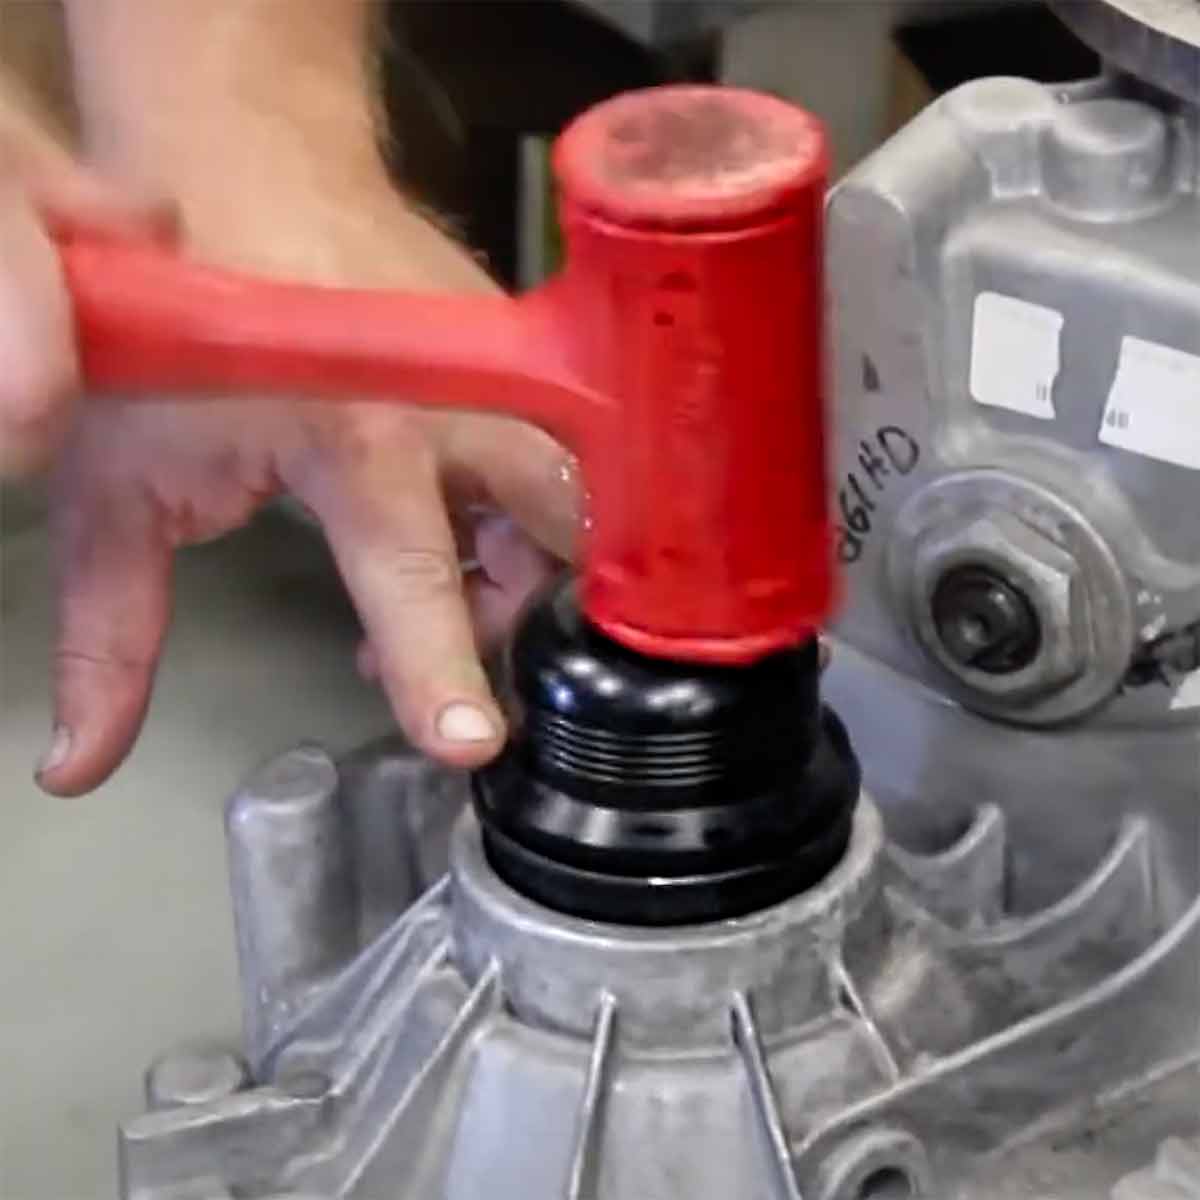
Step 2. Lubricate the inner housing and the output shaft. Place the seal over the output shaft and the driver over it, lining up the notch on the seal with the groove on the driver.
Step 3. Gently tap it a few times with a rubber mallet or plastic hammer (do not use a metal hammer) and then remove the driver to verify that the seal is going on evenly. If it is, tap it gently a few more times until it bottoms out in the housing.
Step 4. Remove the driver and make sure the seal is fully seated and not torn or damaged.
Torque Converter T Handle Installation Kit
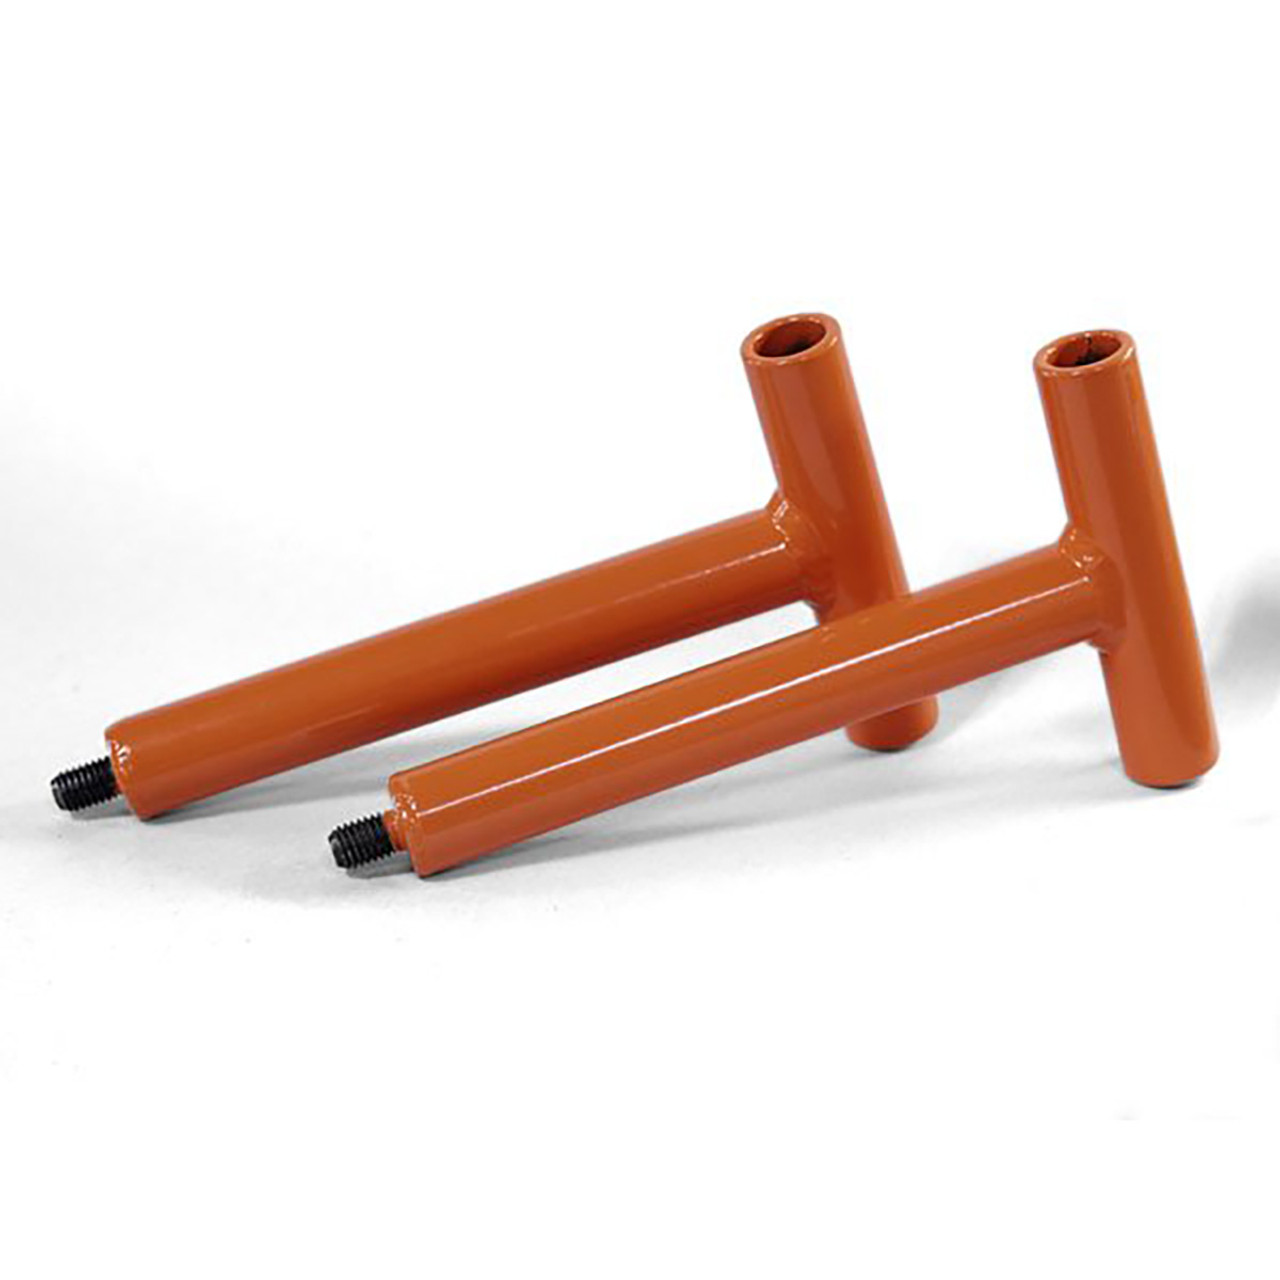
Why You Need It: While the Allison transmission is renowned for its strength and durability, it is also quite heavy. The torque converter is no exception and weighs about 70 lbs. When replacing or upgrading it, the unit must be pulled out, and doing so can be tricky since there is little room to maneuver inside the bell housing. As Allison transmission specialists, the guys at Merchant Automotive know more than anyone that removing it can be a tedious affair.
However, they created a simple solution that makes torque converter removal a breeze, a pair of T handles that thread into the 10x1.5mm bolt holes. What this does is allow you to maintain a steady grip while helping you avoid bashing your knuckles and smashing your fingers on the bell housing. Likewise, it doubles as a reinstallation tool, making it easier to align the torque converter on the input shaft.
How To Use It:
Step 1. First, make sure all of the torque converter bolts have been removed. Then thread the T handles into opposing holes on the torque converter. Make sure they are snug but do not over tighten.
Step 2. Have a suitable stand with a drain pan under it to collect the extra fluid once the torque converter is removed. Gently pull the handles (you may have to rock it from side to side) although it should slide out with little effort. Also, keep in mind it weighs about 70 lbs.
Step 3 (reinstallation). Thread the T handles into opposing bolt holes on the torque converter.
Step 4. Place the torque converter over the input shaft and gently slide it on (do not force it). You may have to turn or rock it a few times for it to line it up. When properly positioned on the input shaft, there should be about one and a quarter inch of setback from the bolt holes to the edge of the bell housing.
Pressure Regulator Service Tool

Why You Need It: Anyone that has replaced the front struts on a vehicle knows that unless you are Hercules, you will need a spring compressor when installing the strut mounts. When servicing the pressure regulator spring on an Allison transmission, it needs to be compressed in order to reinsert the pin that holds it in place.
Since we work on them too, we know that removing and installing the spring can be a hassle. However, with some ingenuity, we created a simple tool that makes it a breeze. If you need to replace the pressure regulator spring, you can trust us when we say this will be the best money you have ever spent.
How To Use It:
Step 1. Mount the pressure regulator spring service tool to the pump body using one of the PTO bolts and snug it down.
Step 2. Tighten the bolt on the service tool to remove the tension on the pin that holds the spring in place. Then use a pick to remove the pin and unscrew the bolt. The spring should slide out.
Step 3 (reinstallation). Install the spring and cap into the pump body and reinstall the service tool using a PTO bolt until it is snug.
Step 4. Gradually compress the spring until the pin can be easily reinserted. Install the pin and use a pick to make sure it is centered in the housing.
Step 5. Remove the compression bolt and pressure regulator service tool.
If You Own a Duramax, You Need Specialty Tools
At Merchant Automotive, we understand that not everyone has the luxury of having their truck serviced at the dealer. While routine services like fuel filters and transfer case shaft seals can be done by a general or home mechanic, doing the job properly requires some Duramax specialty tools. Many times, they are dealer-only or available from tool suppliers at a hefty premium.
We are more than a Duramax and Allison transmission parts retailer; we are mechanics too and operate a full-service repair shop for everything related to GM light trucks. In fact, that is all we do and after over 20 years in the business, we like to think of ourselves as the Duramax experts. If you need parts or services for your truck, don’t hesitate to contact us.


